
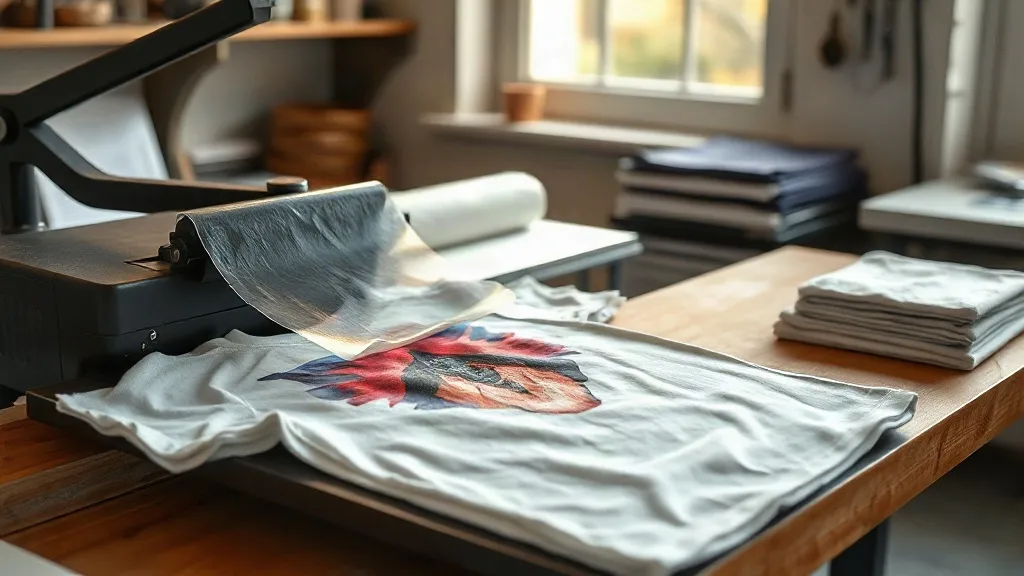
A customer holds up a shirt two weeks after pickup and there it is: a spiderweb of cracks running through the design, or a corner that has started to lift. If you print with dtf transfers, you have probably had this conversation at least once. The frustrating part is that the print looked perfect when it left your shop. Nothing about the transfer changed between then and now. What changed is how it was applied, how it was stored, or how the garment was washed, and each of those leaves a different fingerprint on the failure.
Rather than treating cracking as bad luck, it helps to think of it as a diagnostic clue. The pattern of the damage tells you which step in your process needs attention. Below is how to read those clues, fix the underlying cause, and tighten up the routine so the problem stops repeating.
Start With the Pattern, Not the Printer
Not all cracking means the same thing. Before you change a single setting, look closely at the failed print and match it to one of these three patterns.
Fine hairline cracks across the whole design
This usually points to under-curing or insufficient pressure during the press cycle. The adhesive layer never fully bonded to the fabric, so when the garment flexes, the film moves independently and splits. It shows up first in areas that stretch, like the chest and shoulders.
Cracks concentrated at the edges
Edge cracking is often a cutting or trimming issue. If the film was cut with a dull blade or torn by hand, the border is ragged and thin. Thin edges cure unevenly and lift first. It can also mean the transfer was positioned over a seam or a thick hem, where the press could not apply even pressure.
Peeling rather than cracking
Peeling is a bonding failure, and moisture is the usual suspect. Fabric that was not pre-pressed still holds steam, and that steam flashes into the adhesive layer the moment the heat platen comes down. The result feels solid at first and lets go after a few washes.
The Four Variables That Decide Whether a Print Survives
Every DTF application comes down to time, temperature, pressure, and moisture. Get three right and one wrong, and you get a failure that looks random but is not.
Temperature and time are a pair
Most dtf films today run in a fairly forgiving window, commonly cited around 150 to 165 degrees Celsius for 10 to 15 seconds, but the film manufacturer's spec sheet always wins over general advice. The mistake shops make is bumping temperature to shorten press time. That trade-off does not work: too hot and the adhesive gels before it can flow into the fibers, which produces a print that looks bonded but sits on top of the fabric instead of inside it.
Pressure is the quiet variable
Pressure is the hardest thing to see and the easiest to get wrong. A press that feels firm by hand may still be delivering uneven force across the platen. If your press has a pressure gauge, note the reading that produces clean, consistent adhesion and treat it as your baseline. If it does not, press a test transfer and inspect the film after peeling. Uneven dullness across the carrier sheet means uneven pressure.
Moisture is the invisible enemy
Cotton holds ambient humidity, and that moisture has to go somewhere. A three to five second pre-press before you lay down the transfer drives it off. Skipping this step is the single most common reason a print that felt perfect on day one fails by week three. It costs you five seconds and saves you a remake.
Cool peel versus hot peel
Some films are designed for hot peel, some for cold. Peeling at the wrong moment can distort the adhesive while it is still fluid, weakening the bond at the edges. Follow the film's instructions and stay consistent, because switching habits between jobs makes failures impossible to trace.
Storage and Handling Matter More Than Most Shops Admit
Powder-cured DTF film is sensitive to its environment. Left in a humid back room or a hot car, the adhesive layer can absorb moisture or partially activate before it ever reaches a press. A few habits go a long way:
- Keep film in its original packaging or a sealed bag until use.
- Store flat and away from direct heat, sunlight, and damp walls.
- Avoid stacking heavy items on top of loose sheets, which can compress the powder layer.
- Check the date on older stock before using it on a rush order.
If you buy from a local supplier, ask how they store their inventory. A shop that sources dtf transfers near me from a distributor with poor warehouse conditions can inherit problems that have nothing to do with their own press work.
Building a Test Routine That Catches Problems Early
The best defense against customer complaints is a wash test you run yourself. It takes one garment and a few days, and it tells you more than any visual inspection ever will.
- Apply a small test transfer to the same fabric blend you use for production, using your standard settings.
- Let it rest 24 hours. Adhesion continues to develop after the press opens.
- Wash inside out in cold water with a normal detergent load, then tumble dry low.
- Repeat three times and inspect after each cycle.
Log the settings alongside the result. Within a few weeks you will have a record of which combinations hold up on which fabrics, and you will stop guessing when a new garment type comes through the door.
Fabric Choice Sets the Ceiling on Durability
DTF adheres best to cotton and cotton blends. On 100 percent polyester, particularly smooth performance fabrics, adhesion can be weaker and the print may feel stiffer. On nylon, coated textiles, and heavily water-repellent shells, bonding may fail entirely. This is not a defect in the transfer; it is a mismatch between the adhesive chemistry and the surface.
When a customer brings in a garment you have not printed before, run a test piece on an inside hem before committing to the full order. It takes minutes and prevents an expensive remake. For high-stretch fabrics, consider whether a slightly larger design with softer edges will distribute flex better than a tight, detailed graphic.
When to Blame the Transfer and When to Blame the Process
Occasionally a batch of film is genuinely faulty. Signs include inconsistent powder coverage, visible bare patches, or prints that fail identically across different fabrics and settings. Before you call the supplier, though, rule out your own variables by running a control test with a film you know performs well. If the known-good film also fails, the problem is in your press, your pre-treatment, or your storage. If only the new batch fails, you have a legitimate claim to make.
Frequently Asked Questions
How many washes should a DTF print survive?
A properly applied DTF transfer on cotton typically holds up for 50 or more home wash cycles when washed inside out in cold water and dried on low heat. High heat and harsh detergents shorten that considerably, so care instructions on the garment tag do a lot of the long-term work for you.
Can I fix a print that has already started to crack?
No. Once the adhesive layer has fractured, re-pressing will not restore the bond, and it may distort the design further. The only reliable fix is removal and reapplication. Use a heat-resistant remover sheet or a commercial adhesive remover, clean the area thoroughly, and press a fresh transfer.
Why does my DTF print feel stiff after application?
Stiffness usually comes from too much pressure or a heavy ink layer. Reduce pressure slightly and check that your film is suited to the fabric weight. On lightweight garments, a design with less dense coverage and softer edges will drape better.
Does washing in hot water really damage DTF prints?
Repeated hot washes accelerate adhesive breakdown, especially at the edges where the film meets fabric. Cold or warm water with a mild detergent keeps the bond intact far longer. If a customer insists on hot washing, set expectations clearly at the point of sale.