
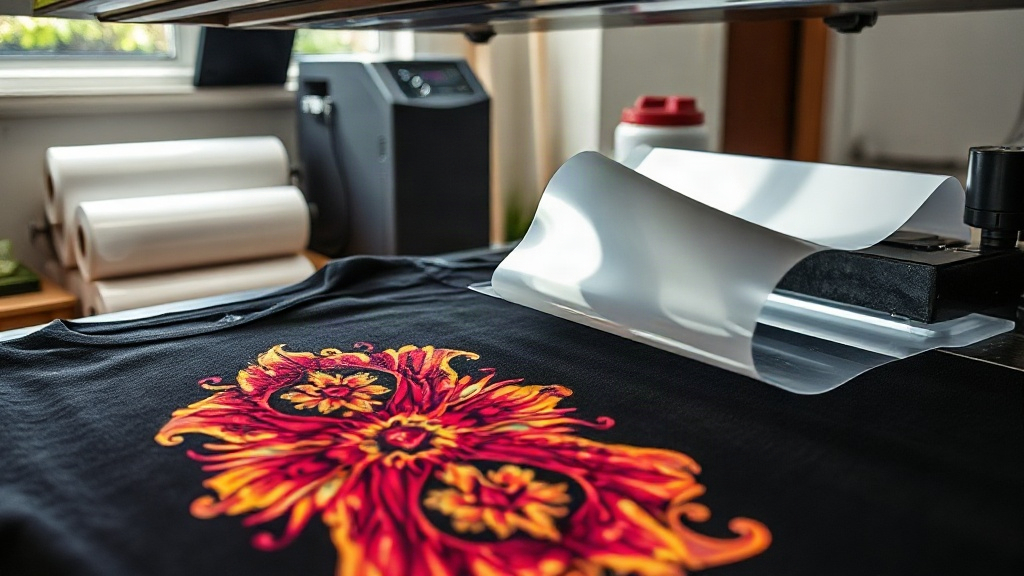
When you first hear about DTF printing, it might sound like another industry acronym. But for anyone who wants to create custom t-shirts, hoodies, or tote bags with vivid, durable designs, DTF printing is a game-changer. Unlike traditional screen printing or heat transfer vinyl, DTF (Direct to Film) printing allows you to print full-color graphics onto a special film, then transfer them to fabric using a heat press. The result? Stunning, wash-resistant prints that feel soft and look professional. In this guide, I'll walk you through everything you need to know to get started with DTF printing, from the basic process to practical tips I've learned from my own trials.
What Exactly Is DTF Printing?
DTF printing stands for Direct to Film. It's a digital printing method where your design is printed onto a PET film using specialized inks. After printing, a powder adhesive (often called hot melt powder) is applied to the wet ink. The film is then cured, and once dry, it can be stored or immediately used. To transfer the design onto a garment, you place the film on the fabric and apply heat and pressure with a heat press. The adhesive melts, bonding the ink to the fabric. Finally, you peel away the film, leaving a vibrant, flexible print. This process works on a wide range of materials, including cotton, polyester, blends, and even leather.
Why Choose DTF Over Other Printing Methods?
If you're familiar with DTG (Direct to Garment) or vinyl, you might wonder why DTF is gaining so much traction. Here are the key advantages:
- No color limitations: Unlike vinyl, DTF can print gradients, photographs, and complex multicolor designs in a single pass.
- Works on many fabrics: DTG often requires pre-treatment and works best on 100% cotton. DTF adheres well to cotton, polyester, blends, and even nylon.
- Soft feel and durability: The prints are thin and stretch with the fabric, resisting cracking and fading after multiple washes.
- Cost-effective for small batches: No screens or setup fees, making it ideal for one-off projects or small runs.
In my experience, DTF shines when you need photographic-quality images on dark garments. I once printed a detailed portrait on a black polyester hoodie, and the result was impressive: no white underbase needed, and the colors popped.
Getting Started: Essential Equipment and Supplies
To begin DTF printing, you'll need a few key items. Here's a breakdown:
1. DTF Printer
You can convert an existing inkjet printer (like an Epson) with a DTF ink system, or buy a dedicated DTF printer. For beginners, a converted printer with a roll feeder is a cost-effective option. Make sure it uses pigment inks designed for DTF.
2. DTF Film
This is a special PET film with a coating that releases the ink when heated. It comes in sheets or rolls. Double-sided film is common, but single-sided works too. I recommend starting with sheets to practice.
3. DTF Ink
Use CMYK plus white DTF ink. The white ink is crucial for printing on dark fabrics; it acts as a base so colors remain vibrant. Quality ink matters: cheap inks can clog printheads and produce dull results.
4. Hot Melt Powder
This adhesive powder is sprinkled onto the wet print. It comes in different particle sizes; finer powder (80-100 microns) gives a softer feel. You'll need a shaker or a spoon for even application.
5. Heat Press
A heat press is essential for both curing the powder and transferring the design. You can use a clamshell or swing-away press. For curing, a dedicated oven or a heat press set to low pressure works. I use a swing-away press for both steps.
Step-by-Step DTF Printing Process
Let's walk through the process from start to finish. This is the workflow I follow, and it's yielded consistent results.
Step 1: Prepare Your Artwork
Create your design in software like Photoshop or Illustrator. Remember to mirror the image horizontally before printing, because you'll transfer it face-down. Ensure your design is in CMYK color mode and at 300 DPI for best quality. If printing on dark fabric, include a white underbase layer.
Step 2: Print the Design
Load the DTF film into your printer. Print the mirrored design. The printer will lay down CMYK inks first, followed by white ink. This order is important for opacity. Allow the print to sit for a minute; the ink should be tacky but not dry.
Step 3: Apply Hot Melt Powder
Sprinkle the powder evenly over the wet ink. You can use a shaker bottle or a spoon. Gently shake off excess powder; you want a thin, uniform layer. Too much powder can lead to a stiff print.
Step 4: Cure the Powder
Place the film in a curing oven or under a heat press at around 160°C (320°F) for 2-3 minutes. The powder should melt and become glossy. If using a heat press, set it to low pressure and no steam. Once cured, the film can be stored in a cool, dry place for weeks.
Step 5: Transfer to Garment
Preheat your heat press to 160-170°C (320-340°F). Place the garment on the press, then position the DTF film on top with the design facing up. Apply medium pressure for 15-20 seconds. Let it cool completely before peeling. For a softer feel, you can peel while warm, but cold peel gives sharper details. I prefer cold peel for intricate designs.
Tips for Success and Troubleshooting
Even with the right equipment, issues can arise. Here are some common problems and how to fix them:
- Print cracking after wash: Usually caused by under-curing the powder or insufficient pressure during transfer. Increase curing time or pressure.
- Dull colors: Ensure your white ink layer is thick enough. Also, check that your printer's nozzles are clean.
- Film peeling off: Might be due to too much powder or not enough heat. Adjust powder application and transfer temperature.
- Clogged printhead: Regular maintenance is key. Print a test pattern daily and use cleaning solutions designed for DTF inks.
From my own mistakes, I learned to always test on a scrap piece of fabric before pressing onto a final garment. It saves time and materials.
Applications and Creative Ideas
DTF printing opens up a world of possibilities. Beyond t-shirts, you can customize:
- Hoodies and sweatpants
- Tote bags and backpacks
- Aprons and uniforms
- Canvas shoes and caps
- Home textiles like pillowcases
I've seen people create intricate all-over prints by arranging multiple transfers. The flexibility of DTF makes it a favorite among small business owners and crafters.
Frequently Asked Questions
How long does a DTF print last?
With proper application and care, a DTF print can last 50+ washes without significant fading or cracking. Always wash inside out in cold water and avoid harsh detergents.
Can I use DTF on 100% polyester?
Yes, DTF works well on polyester. However, polyester requires lower transfer temperatures to prevent dye migration. Use a low-temperature adhesive powder and press at 140-150°C.
Do I need a special printer for DTF?
You can convert a standard inkjet printer (like Epson EcoTank) with a DTF ink system and RIP software. Alternatively, buy a dedicated DTF printer. For beginners, a converted printer is more affordable.
What is the difference between DTF and DTG?
DTF transfers a film to the garment, while DTG prints directly onto the fabric. DTF works on more fabrics and doesn't require pre-treatment, but DTG can be more cost-effective for 100% cotton light-colored shirts.
How do I store unused DTF film?
Keep it in a cool, dry place away from direct sunlight. Seal it in an airtight bag to prevent moisture absorption. Properly stored film can last up to 6 months.
Starting with DTF printing might seem daunting, but with a bit of practice, you'll be creating professional-grade custom apparel in no time. Remember to source quality supplies, maintain your equipment, and test before final pressing. The vibrant, durable results are well worth the effort.